Warm, buttery dinner rolls are a worthy addition to a holiday meal, yet they’re often overlooked in favor of turkey, pie, stuffing, and the endless lineup of dishes competing for oven space. These brown and serve rolls offer an easy make-ahead solution: partially bake ("parbake") the rolls then freeze. When it’s time to eat, just pop them into a hot oven to brown them briefly. In about ten minutes, you’ll have fluffy, fresh rolls.
Test Kitchen notes:
These brown and serve rolls can be frozen for up to 6 weeks if you wrap them well.
You can store the parbaked rolls at room temperature instead of freezing them, if you like. Store them for up to 3 days at room temperature, and then bake as directed in step 9 to finish.
Brushing the baked rolls with melted butter, while optional, adds shine and buttery flavor — we recommend not skipping this simple step!
Prevent your screen from going dark as you follow along.
To make the slurry: Weigh your flour; or measure it by gently spooning it into a cup, then sweeping off any excess. In a medium microwave-safe bowl, whisk the water and flour until combined. Heat in the microwave in 20-second increments, whisking between each one, until the mixture is thick and pasty, 1 to 2 minutes total.
To make the dough: Transfer the slurry to the bowl of a stand mixer and add all the dough ingredients. Mix with the dough hook on low speed for 1 to 2 minutes until combined, then increase the speed to medium and mix for 8 to 12 minutes, until the dough is smooth and silky, cleans the sides of the bowl, and passes the windowpane test.
Transfer the dough to a lightly greased bowl or 2-quart dough-rising bucket, cover tightly, and let rise for 45 to 60 minutes, until doubled in size.
Transfer the dough to a lightly floured surface and divide it into 18 pieces (about 67g each). Shape each piece into a tight ball and space evenly on a parchment-lined baking sheet. (The rolls will expand and touch slightly as they bake; if you’d like total separation, arrange them on two parchment-lined baking sheets, spacing them evenly apart.)
Cover the baking sheet and let the rolls rise for 30 to 45 minutes, until puffy; when pressed with a floured finger, the dough should spring back slowly. While the dough rises, preheat the oven to 275°F.
Bake the rolls for 25 to 30 minutes, until the internal temperature registers 190°F on a digital thermometer. The rolls should rise and take on almost no color.
Remove the baking sheet from the oven and allow the rolls to cool completely, about 45 minutes. Transfer the baking sheet to the freezer and freeze until the rolls are frozen solid, about 1 hour.
Once the rolls are frozen, split them up for long-term storage by gently pulling the rolls apart and transferring them to a zip-top bag. Alternatively, break the slab of rolls into two or three smaller portions to pull apart after reheating; these will be softer and squishier than rolls that are frozen and finished individually. At this point, the rolls can be frozen for up to 6 weeks.
To brown and serve the rolls: Preheat the oven to 425°F with a rack in the center.
Remove the rolls from the freezer and place them on a parchment-lined baking sheet.
Bake the rolls for 8 to 12 minutes, until they’re deeply golden brown all over and the internal temperature registers about 210°F. If you froze your rolls as a connected slab, they may need 3 to 5 additional minutes.
Remove the rolls from the oven and brush the warm rolls with additional softened butter, if desired. Let cool slightly before eating.
Tips from our Bakers
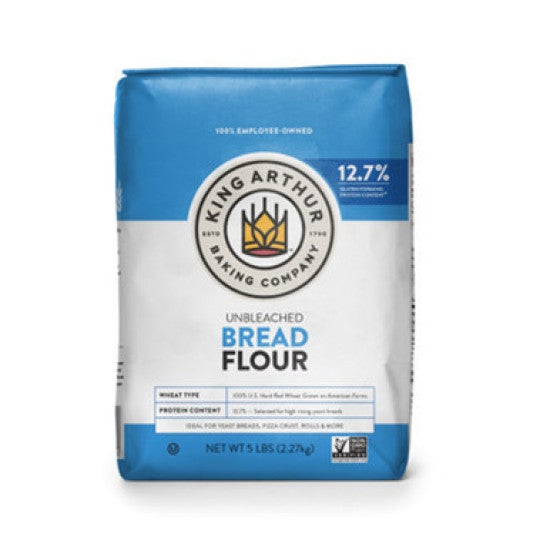
These brown and serve rolls get their lofty height from bread flour. If you have to substitute all-purpose flour, use an equal amount and hold back a few tablespoons of the liquid in the dough. Add it only if the dough seems dry or stiff. Prepare otherwise as directed, noting that the rolls will likely rise a bit less.
Making perfectly round rolls is easier than it looks if you follow a few key steps: divide the dough evenly, preshape the dough into dumpling-like rounds, and then round out the dough on your work surface, creating tension. See how to shape rolls like a pro, step by step.
Looking for more ways to prep ahead for holiday baking? Check out our Thanksgiving Survival Guide, which is packed with tips for baking in advance of any large gathering.