Pumpkin Pie Without Evaporated Milk

This post may contain affiliate links, read my disclaimer.
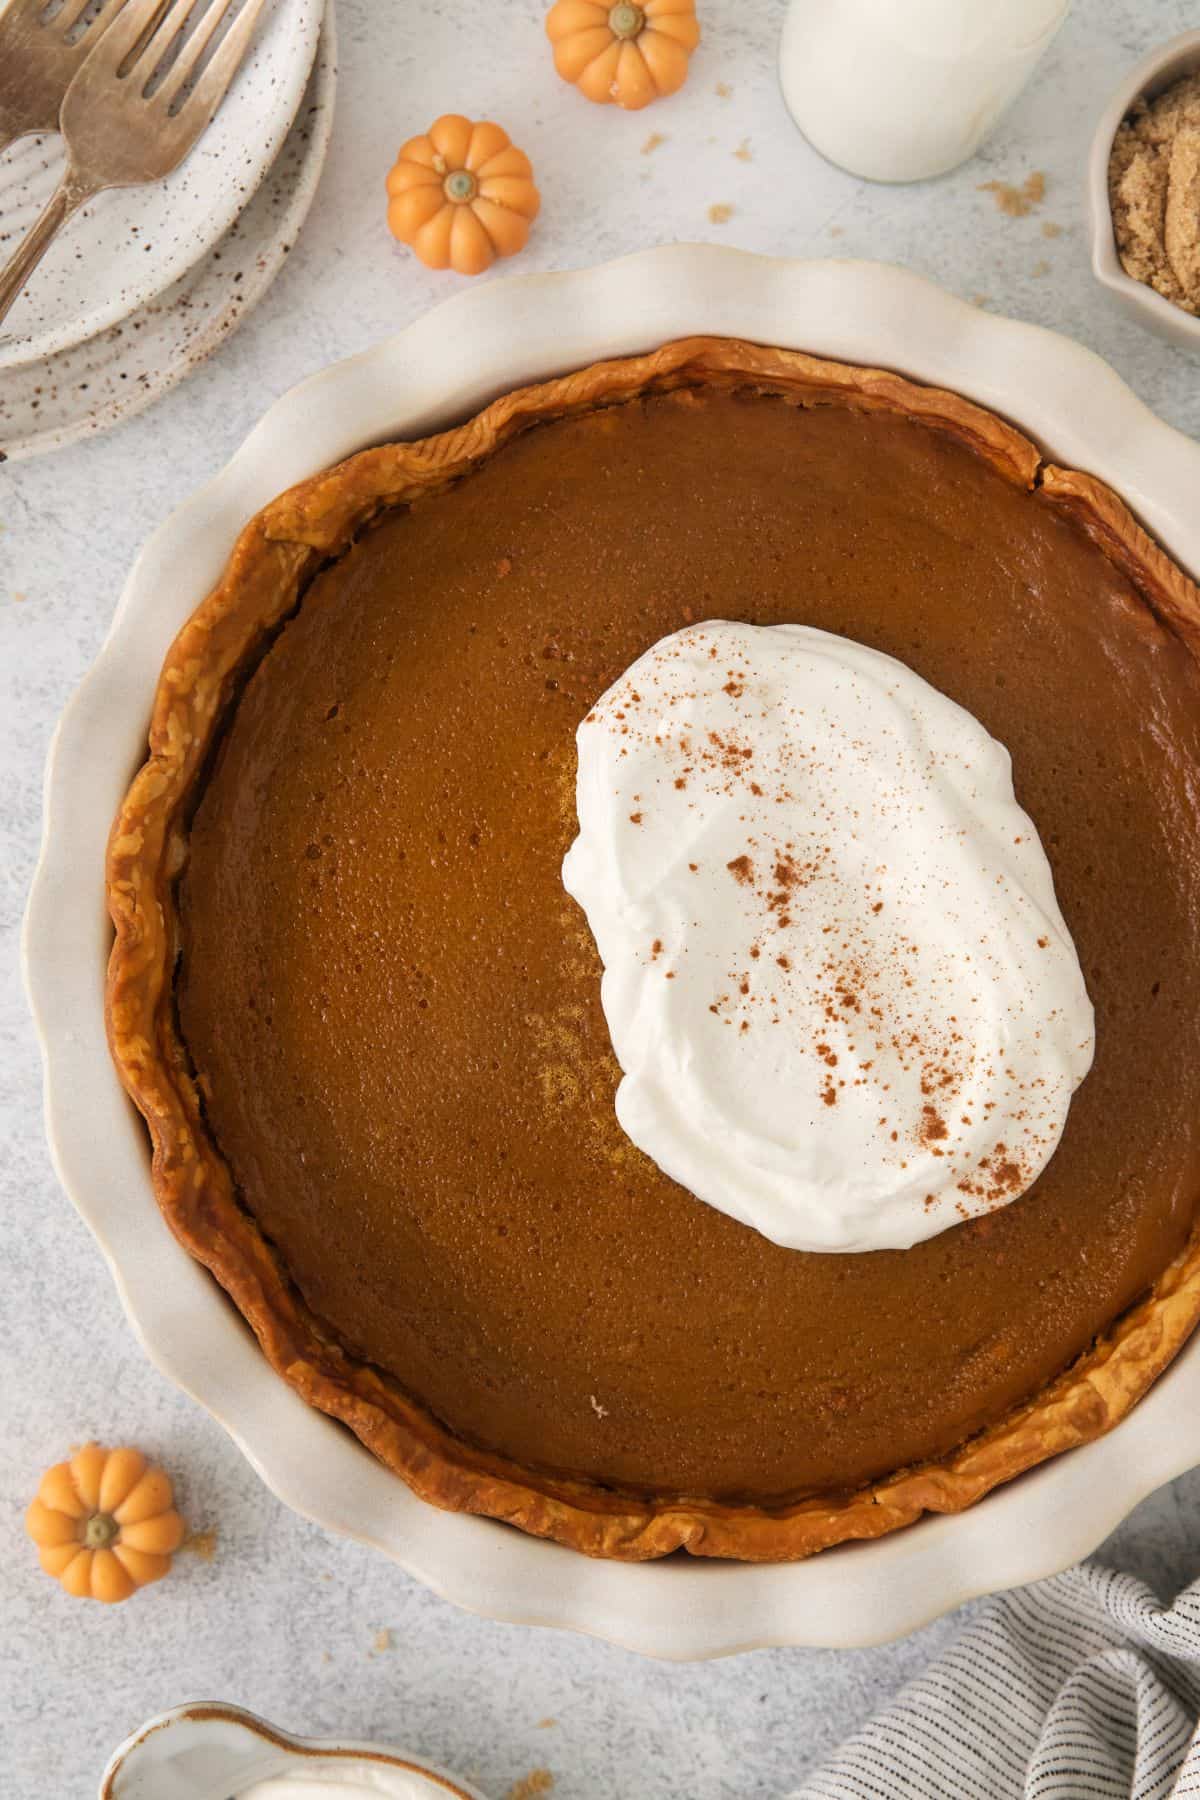
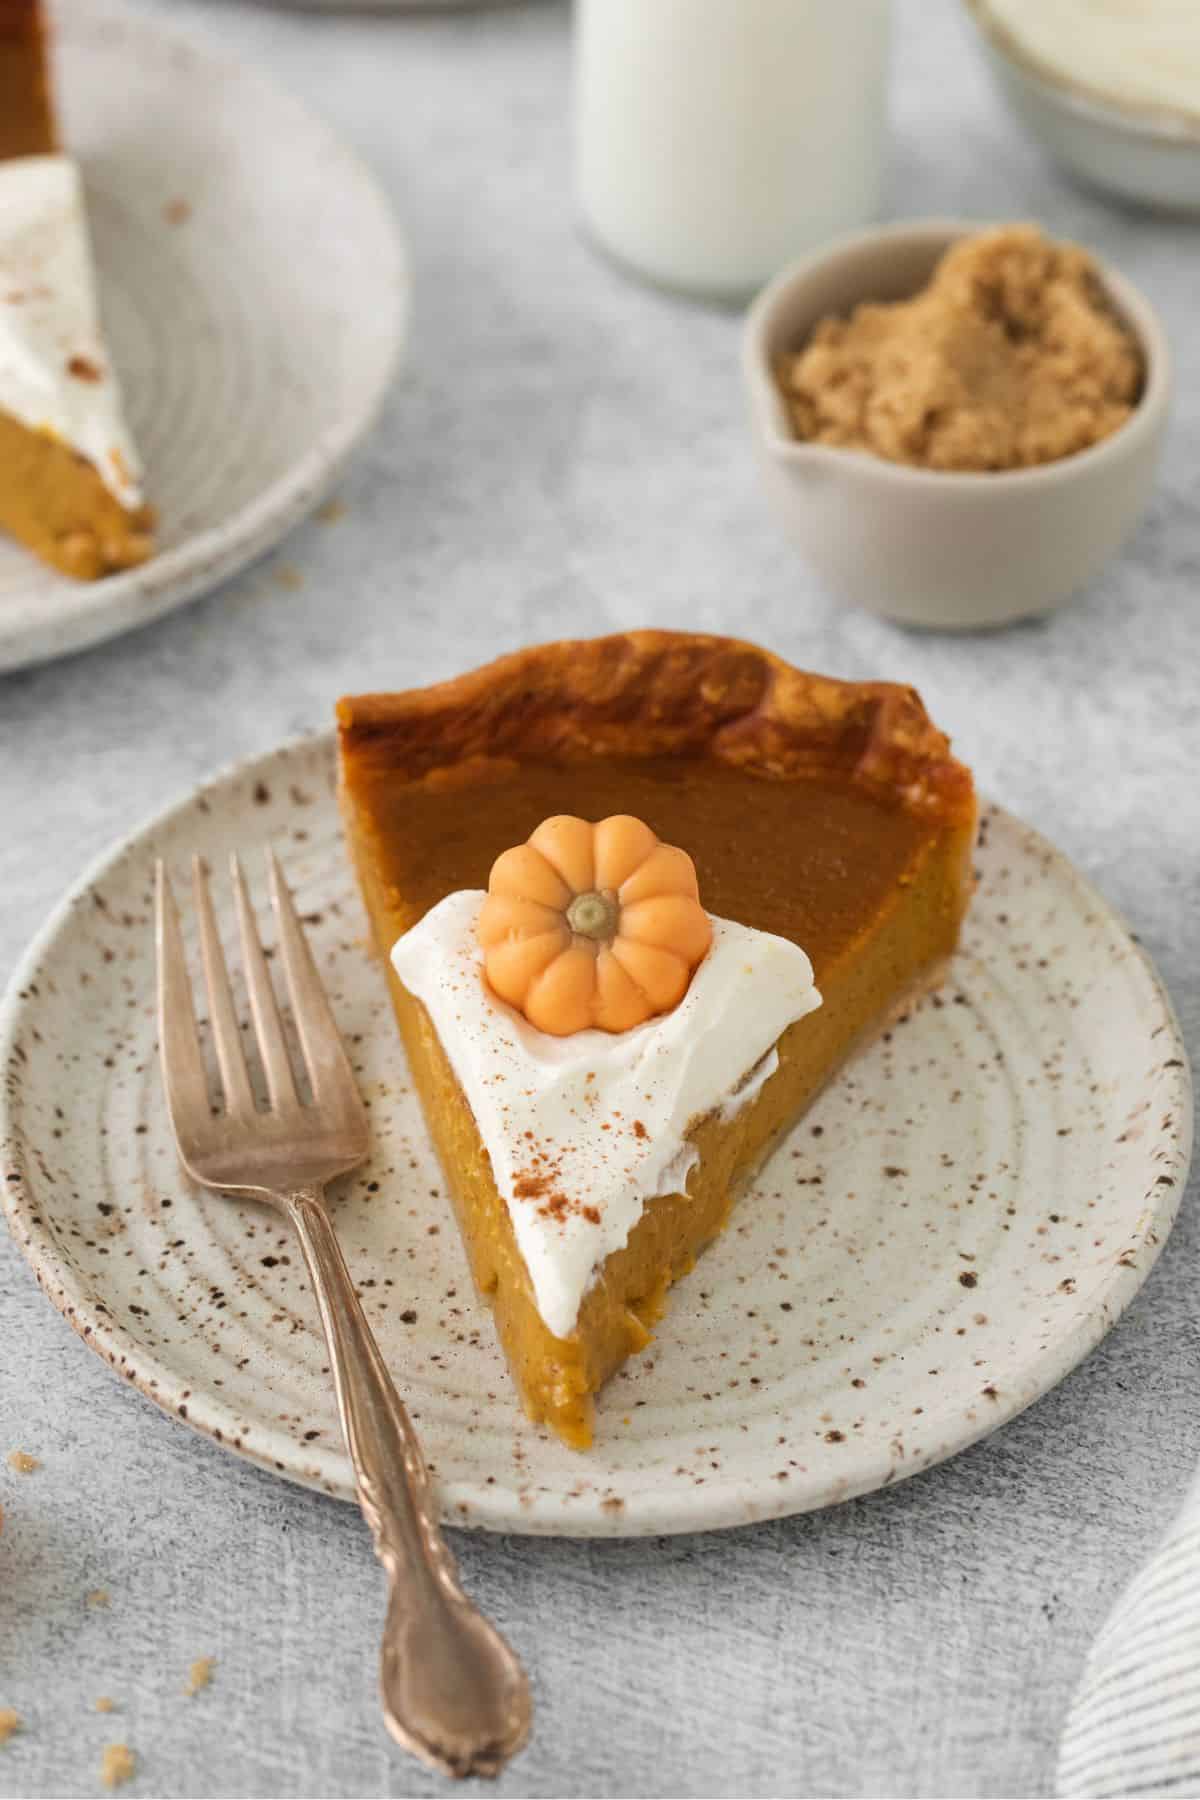
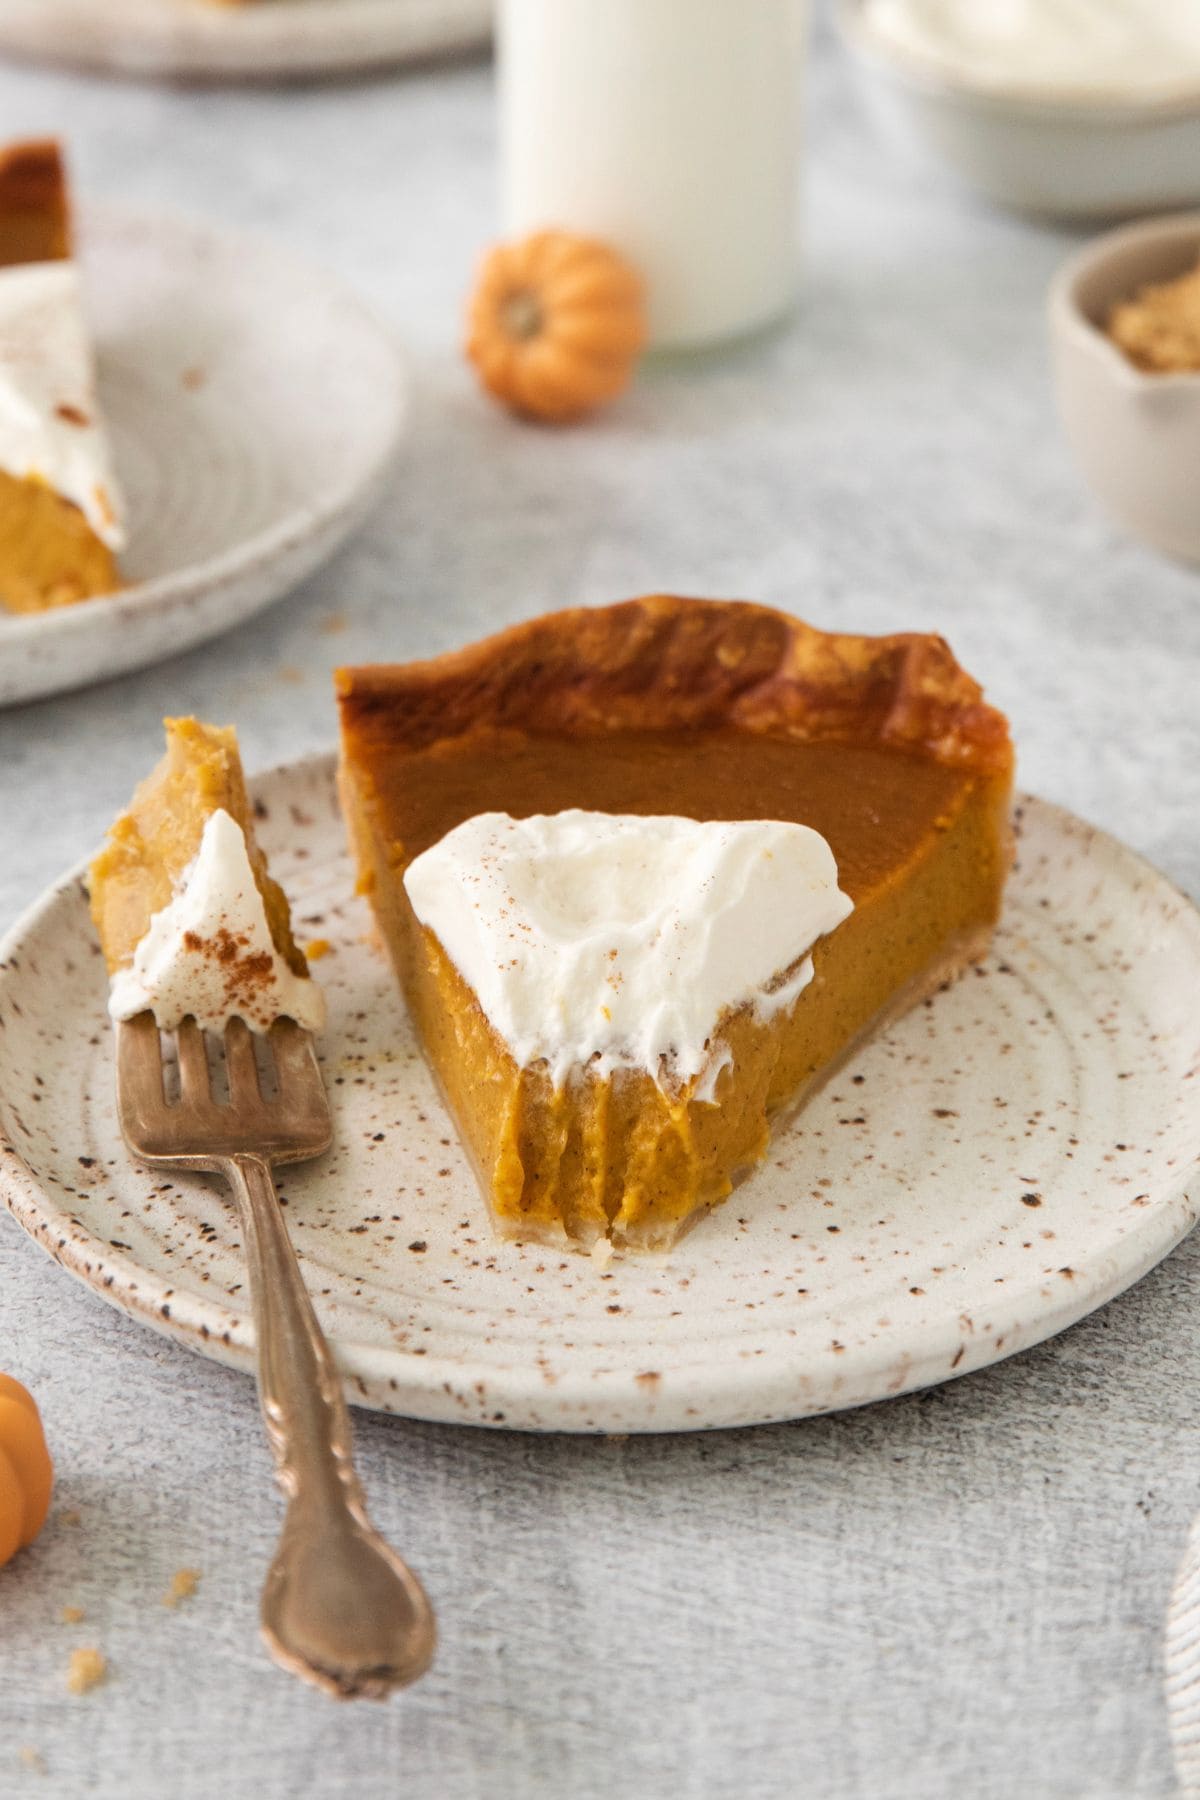
My pumpkin pie without evaporated milk uses heavy cream to get that same creamy and silky texture you love in pumpkin pie. I use just 7 ingredients including the pie crust for this easy Thanksgiving dessert.
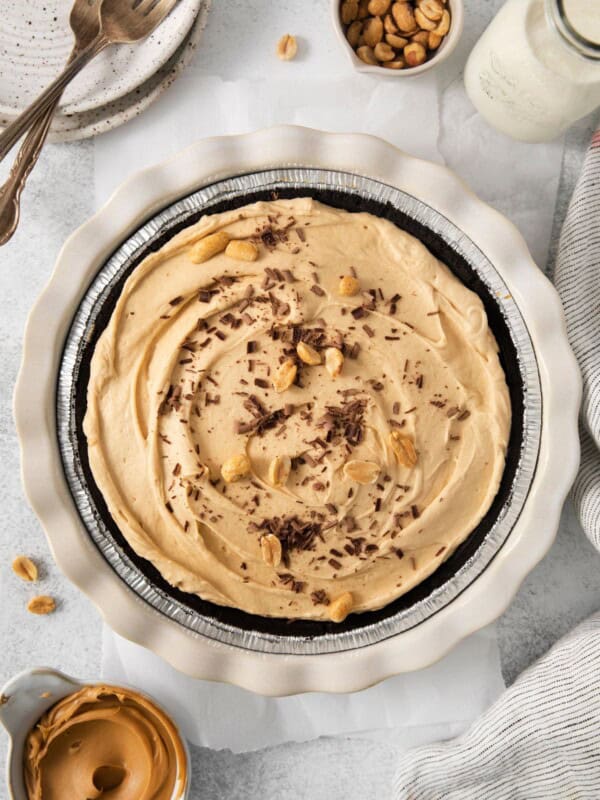
Because fall is what I call pie season in my house, I love rotating between this easy dessert and my peach pie recipe with canned peaches and peanut butter pie with Cool Whip.
Why I keep making this easy pumpkin pie

No evaporated milk or condensed milk needed – I use heavy cream as a substitute for simplicity. The high fat content gives the pumpkin pie filling just the right amount of richness.
Creamy filling that still sets – I would never settle for a loose or runny pie. I’m proud to say slices of my pumpkin pie without evaporated milk hold their shape perfectly once chilled.
Only 7 ingredients needed – You still get that warm, cozy flavor from the brown sugar, pumpkin pie spice, vanilla, and pumpkin puree, but it’s just 7 ingredients including the pie crust! That’s what I call an easy pie.
I finally decided to create a recipe for pumpkin pie without evaporated milk when, for the third year in a row, I went to make a traditional version and realized evaporated milk was the only ingredient I didn’t have. I knew there had to be a better way!
After lots of experimenting (which Ben and the kids did not seem to mind), I discovered that the right ratio of heavy cream was the best way to get that rich, creamy texture we all love! And I’m way more likely to have heavy cream in my refrigerator on any given day.
Ben swears he actually prefers my pumpkin pie with no evaporated milk. After tasting it next to a store-bought pumpkin pie, I definitely preferred my version!
During the holidays when my kitchen always seems packed with special ingredients and the grocery list gets longer with every trip to the store, I love being able to whip up pumpkin pie without evaporated or condensed milk! It’s one of my go-to Thanksgiving recipes now.
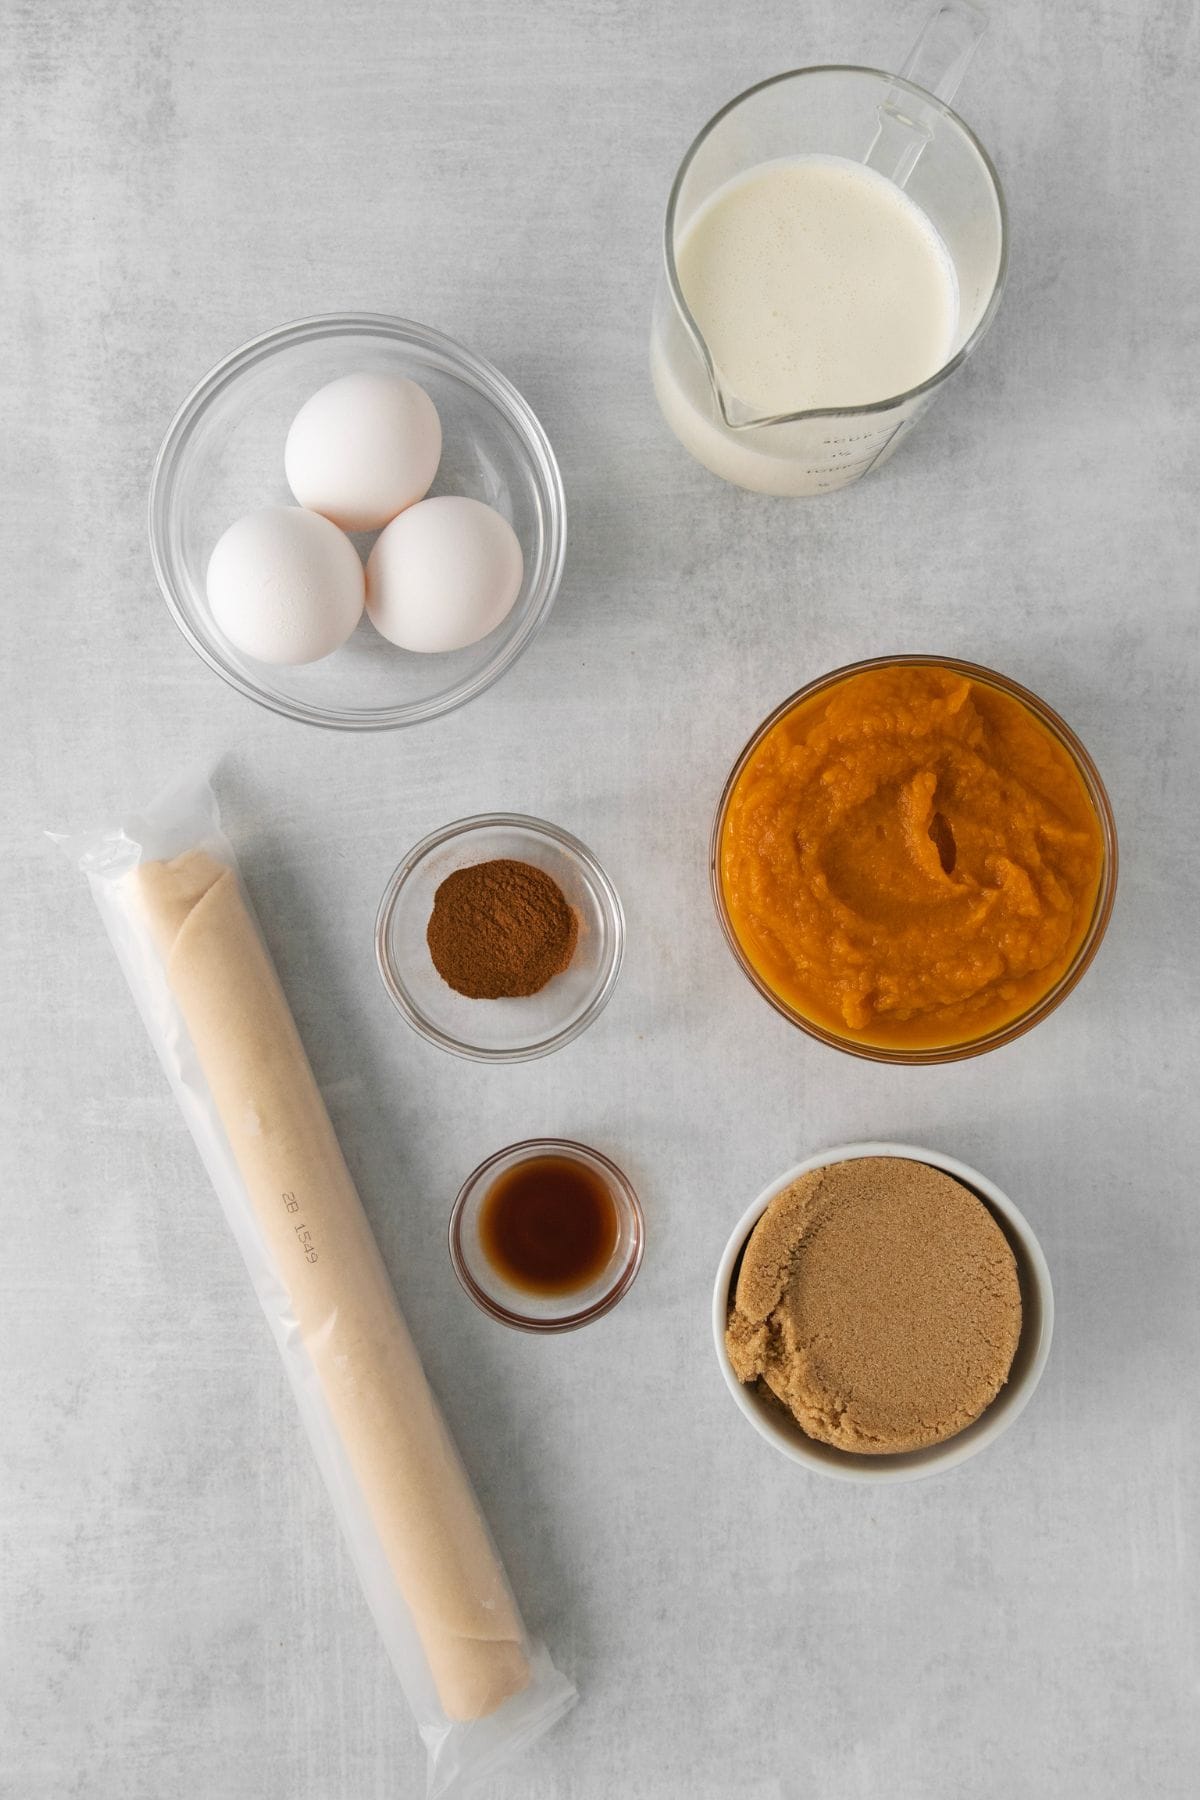
Easy pumpkin pie with no evaporated milk ingredients
- Pie crust – I either use my homemade pie crust or a store-bought pie crust depending on how much time I have or how much baking I’m in the mood for.
- Pumpkin puree – This gives the pie its pumpkin flavor and thick, creamy base. I use plain pumpkin puree, not pumpkin pie filling, and add my own flavors and spices.
- Heavy cream – This is my substitute for evaporated milk. It gives the pumpkin pie filling an indulgently rich, smooth texture without making it runny.
- Light brown sugar – The molasses in brown sugar adds depth that goes so well with the pumpkin flavor and warm spices.
- Eggs – These are super important for helping the custard set so the filling has structure and the slices will hold their shape.
- Pumpkin pie spice – This blend is the easiest way to get all those warm fall spices without measuring out a bunch of individual seasonings.
- Vanilla extract – A little vanilla rounds out the pumpkin and spices, plus it adds some warmth and sweetness.
How to make pumpkin pie without evaporated milk
A full printable version of this recipe with ingredient measurements is available at the bottom of this post.
Expert tips
- Use pumpkin puree, not pumpkin pie filling. Because pumpkin pie filling already contains sweeteners and spices, I prefer plain puree that lets me control the flavor of my pie.
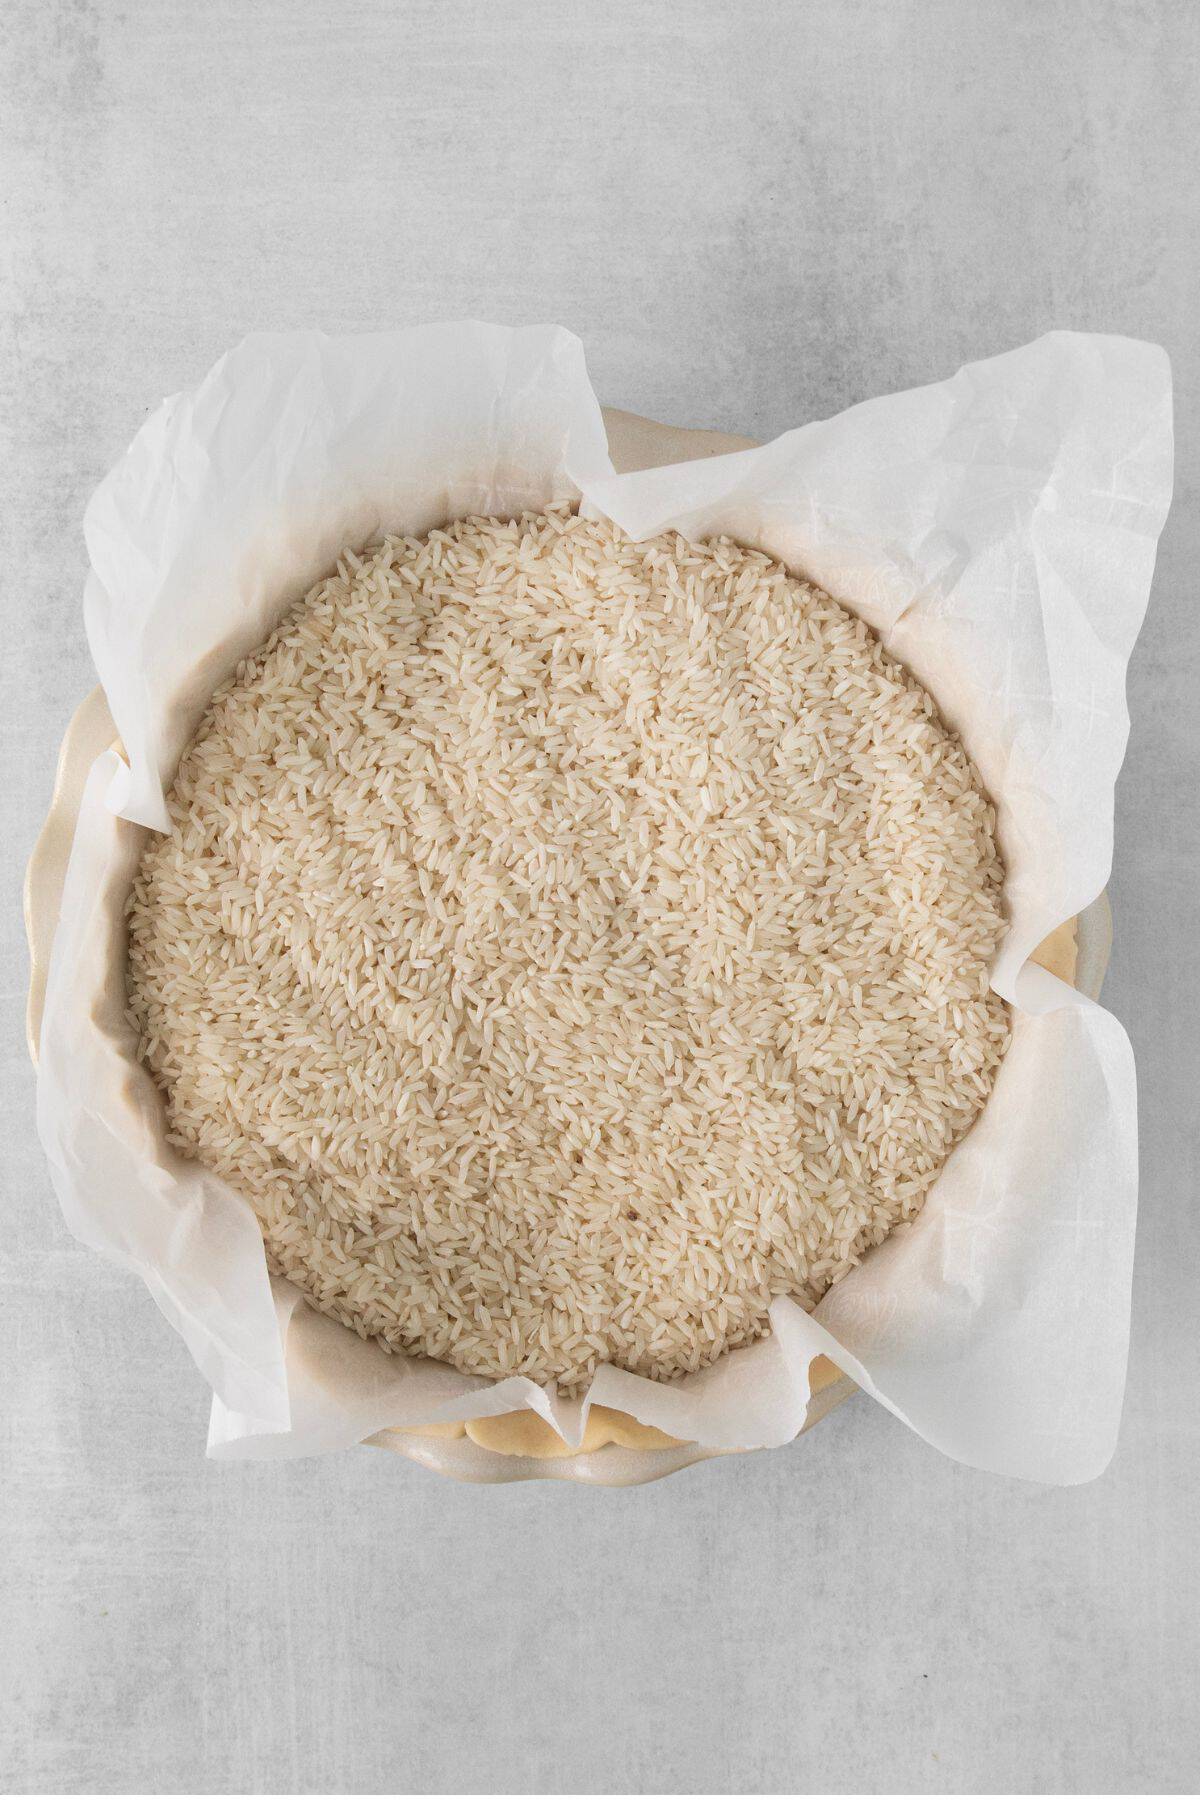
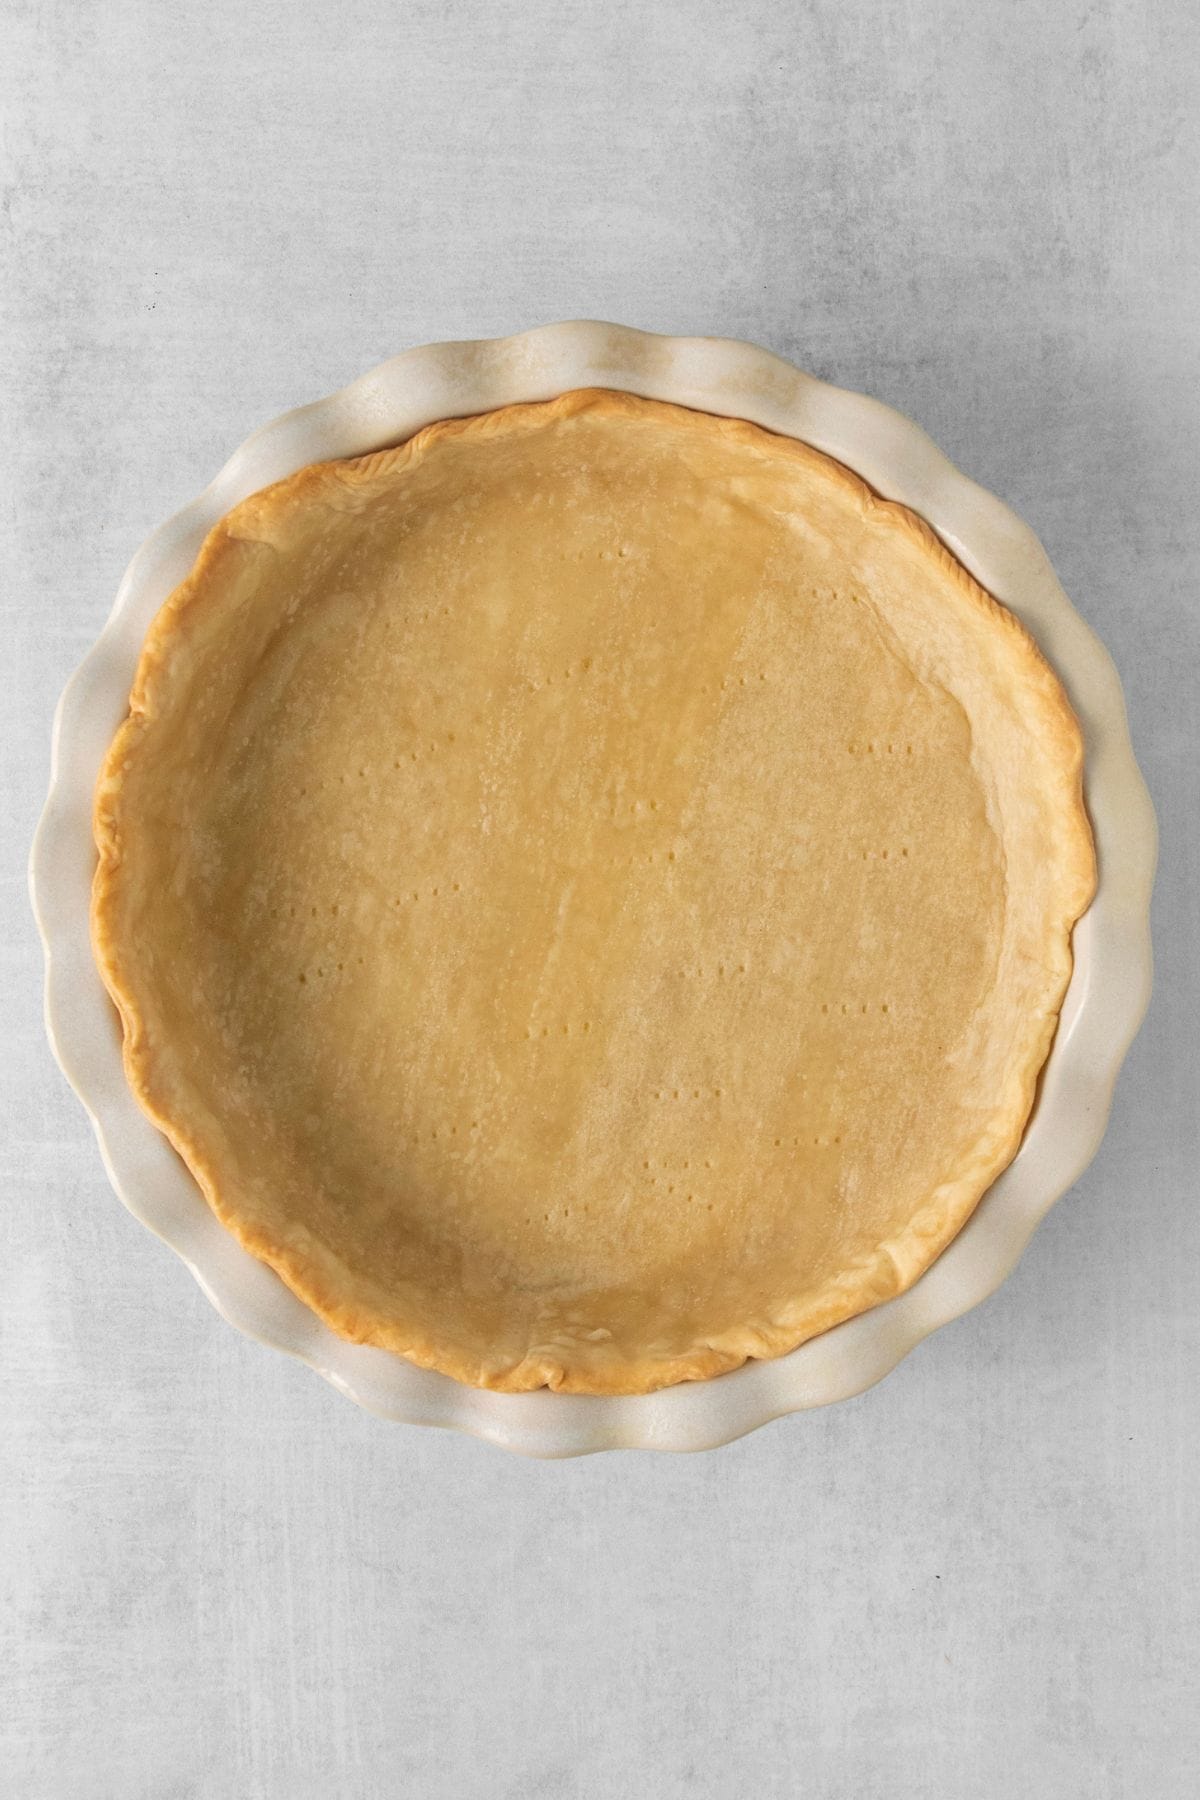
- Par-bake the crust before adding the filling. This gives the bottom crust a better texture and keeps it from getting soggy from the filling.
- Protect the crust if it browns too quickly. If I see the edges getting dark before the filling is done, I put some loose foil over the crust or use a pie shield so it doesn’t burn.
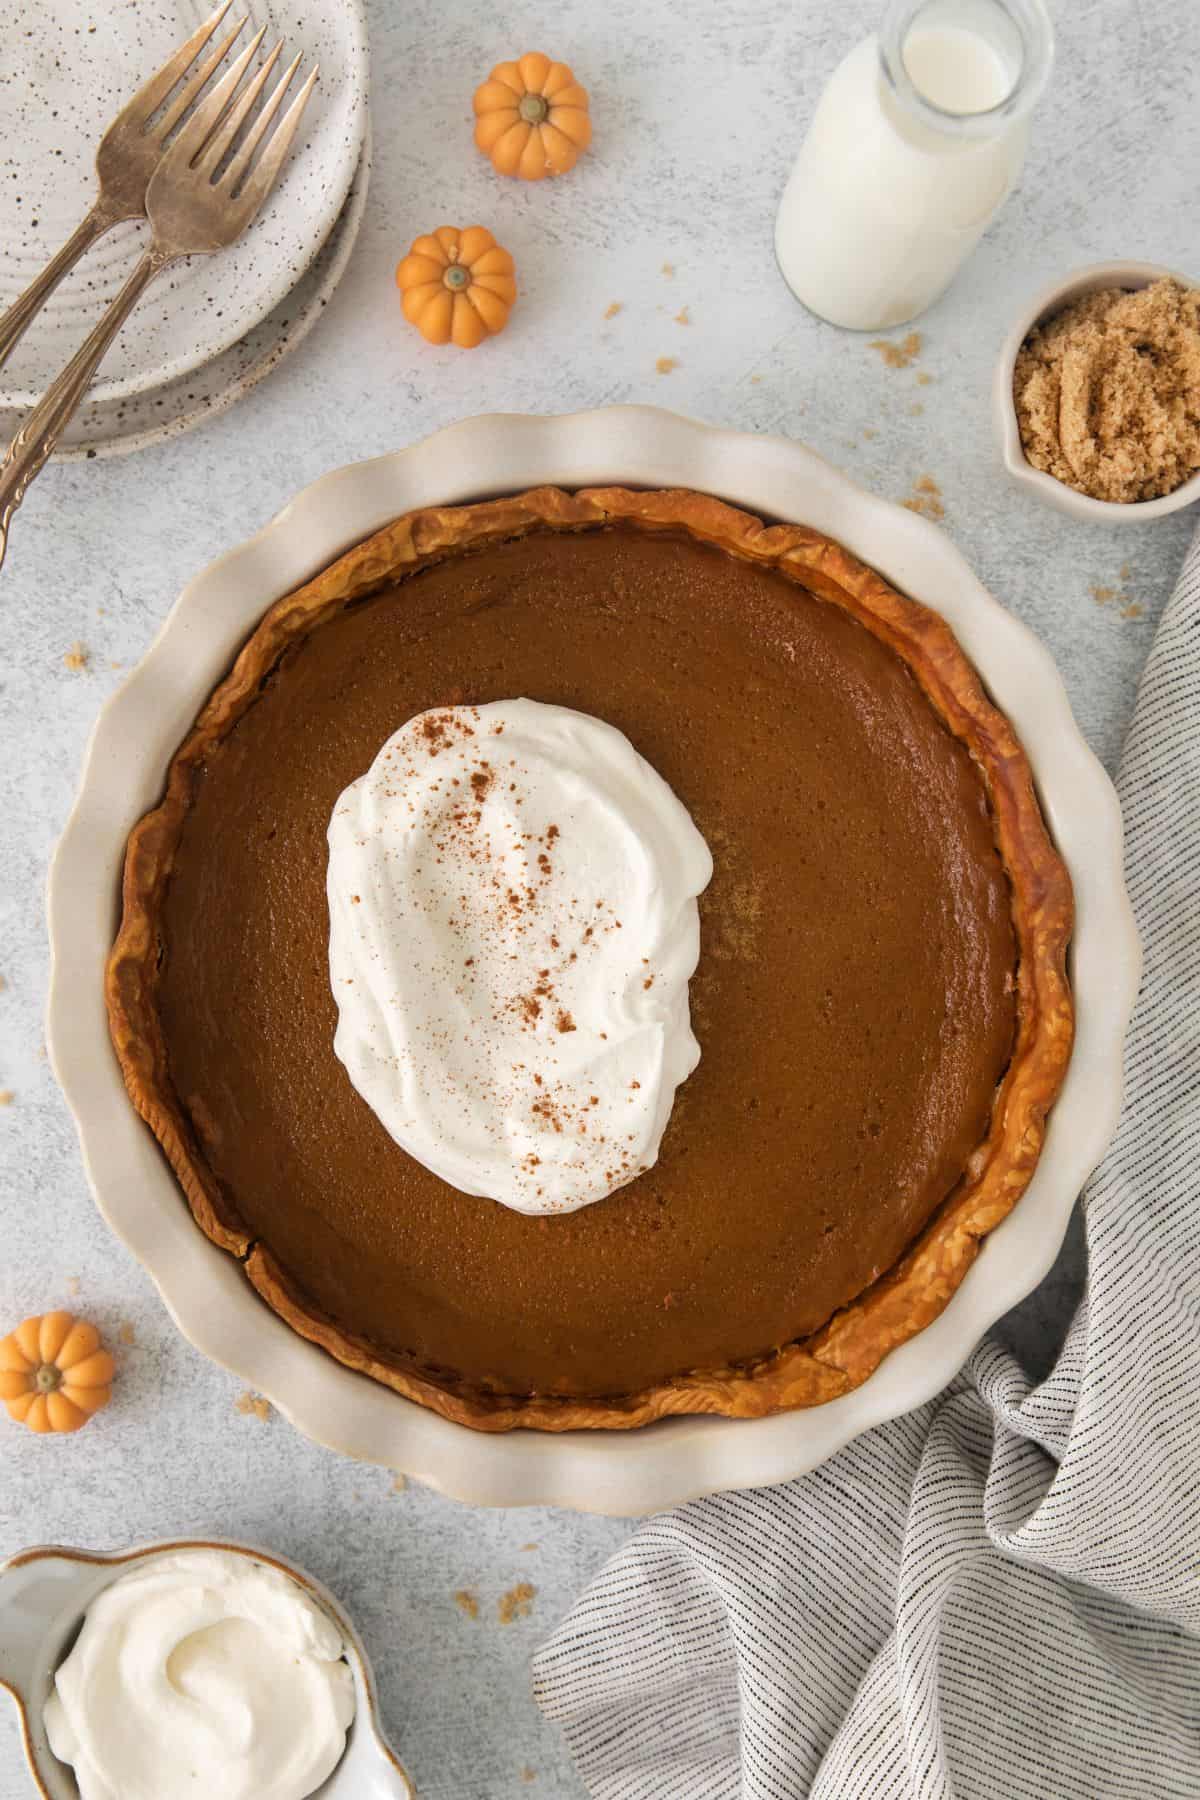
- Look for a slight jiggle in the center. If I leave the pumpkin pie in the oven until it’s completely firm, it usually tastes overbaked and cracks as it cools.
- Cool the pie gradually at room temperature. Exposing the hot custard to a big temperature change by going straight from the oven to the refrigerator can affect how my pie filling sets.
- Give the pie the full chilling time. I know it’s tempting to grab a slice right away, but I chill my pie for at least 4 hours so the custard fully sets and I get beautiful, clean slices.
What to serve with this easy pumpkin pie recipe
Even though pumpkin pie without evaporated milk is plenty rich on its own, I love adding a dollop of my whipped cream recipe for that classic holiday pie combination. Meanwhile, my kids always beg for their slices with a scoop of my vanilla ice cream recipe for some extra indulgence!
Pumpkin pie without evaporated milk FAQs
Why is evaporated milk in pumpkin pie?
Traditional pumpkin pie recipes use evaporated milk to give the filling creaminess without adding too much liquid that could make the pie runny. It’s useful for getting that thick, smooth custard texture in the filling.
I like substituting with heavy cream to get the perfect creamy texture. Combined with the eggs, my pumpkin pie filling sets beautifully.
What can I use instead of evaporated milk in pumpkin pie?
Heavy cream is my preference for replacing evaporated milk, but you can also try whole milk, half-and-half, almond milk, oat milk, or coconut milk. Each option will give you different levels of richness, flavor, and final texture, so they may take some experimenting.
How do I keep my pumpkin pie from cracking on top?
My number one tip for avoiding a cracked pumpkin pie is not to overbake it. Pumpkin pie continues to set as it cools, so I pull mine from the oven when the center still has a slight jiggle. I also let my pie cool at room temperature before transferring it to the refrigerator to avoid a huge temperature change that can cause cracking.
How do you store pumpkin pie without evaporated milk?
For leftover pumpkin pie, I either cover the pan or transfer the slices to an airtight container and store in the refrigerator for up to 4 days. For longer storage, I’ll wrap a baked pie tightly in plastic wrap and aluminum foil and store in the freezer for up to a month. I thaw it in the refrigerator overnight before serving.
Will pumpkin pie set properly without evaporated milk?
My pumpkin pie without evaporated milk sets beautifully! The combination of eggs and heavy cream give the custard structure and richness without making it watery, and chilling the pie in the refrigerator helps it fully set.
Can I make this dairy-free or vegan?
You could make a dairy-free version by replacing the heavy cream with a rich non-dairy option like full-fat coconut milk, but the flavor and texture will be a little different.
To make a vegan pumpkin pie, I’d recommend using a recipe that was specifically developed with an egg replacement to make sure the filling sets properly.
More easy pumpkin desserts
- Pumpkin dip with Cool Whip
- Pumpkin dump cake with spice cake mix
- Pumpkin cheesecake cookies
- Recipes to use leftover pumpkin pie filling
- Pumpkin bread with cake mix
- 3 ingredient pumpkin cookies with cake mix
7-Ingredient Pumpkin Pie without Evaporated Milk
Equipment
- 9" deep dish pie plate
- parchment paper
- Rice, dried beans, or pie weights to weigh down the crust
- Large mixing bowl
- Whisk
Ingredients
- 1 9” deep dish pie crust, homemade or store-bought
- 15 ounces pumpkin puree, canned
- 1 ¼ cups heavy cream
- 1 cup light brown sugar, lightly packed
- 3 large eggs
- 2 teaspoons pumpkin pie spice
- 1 teaspoon pure vanilla extract
Optional
- whipped cream, for serving
Instructions
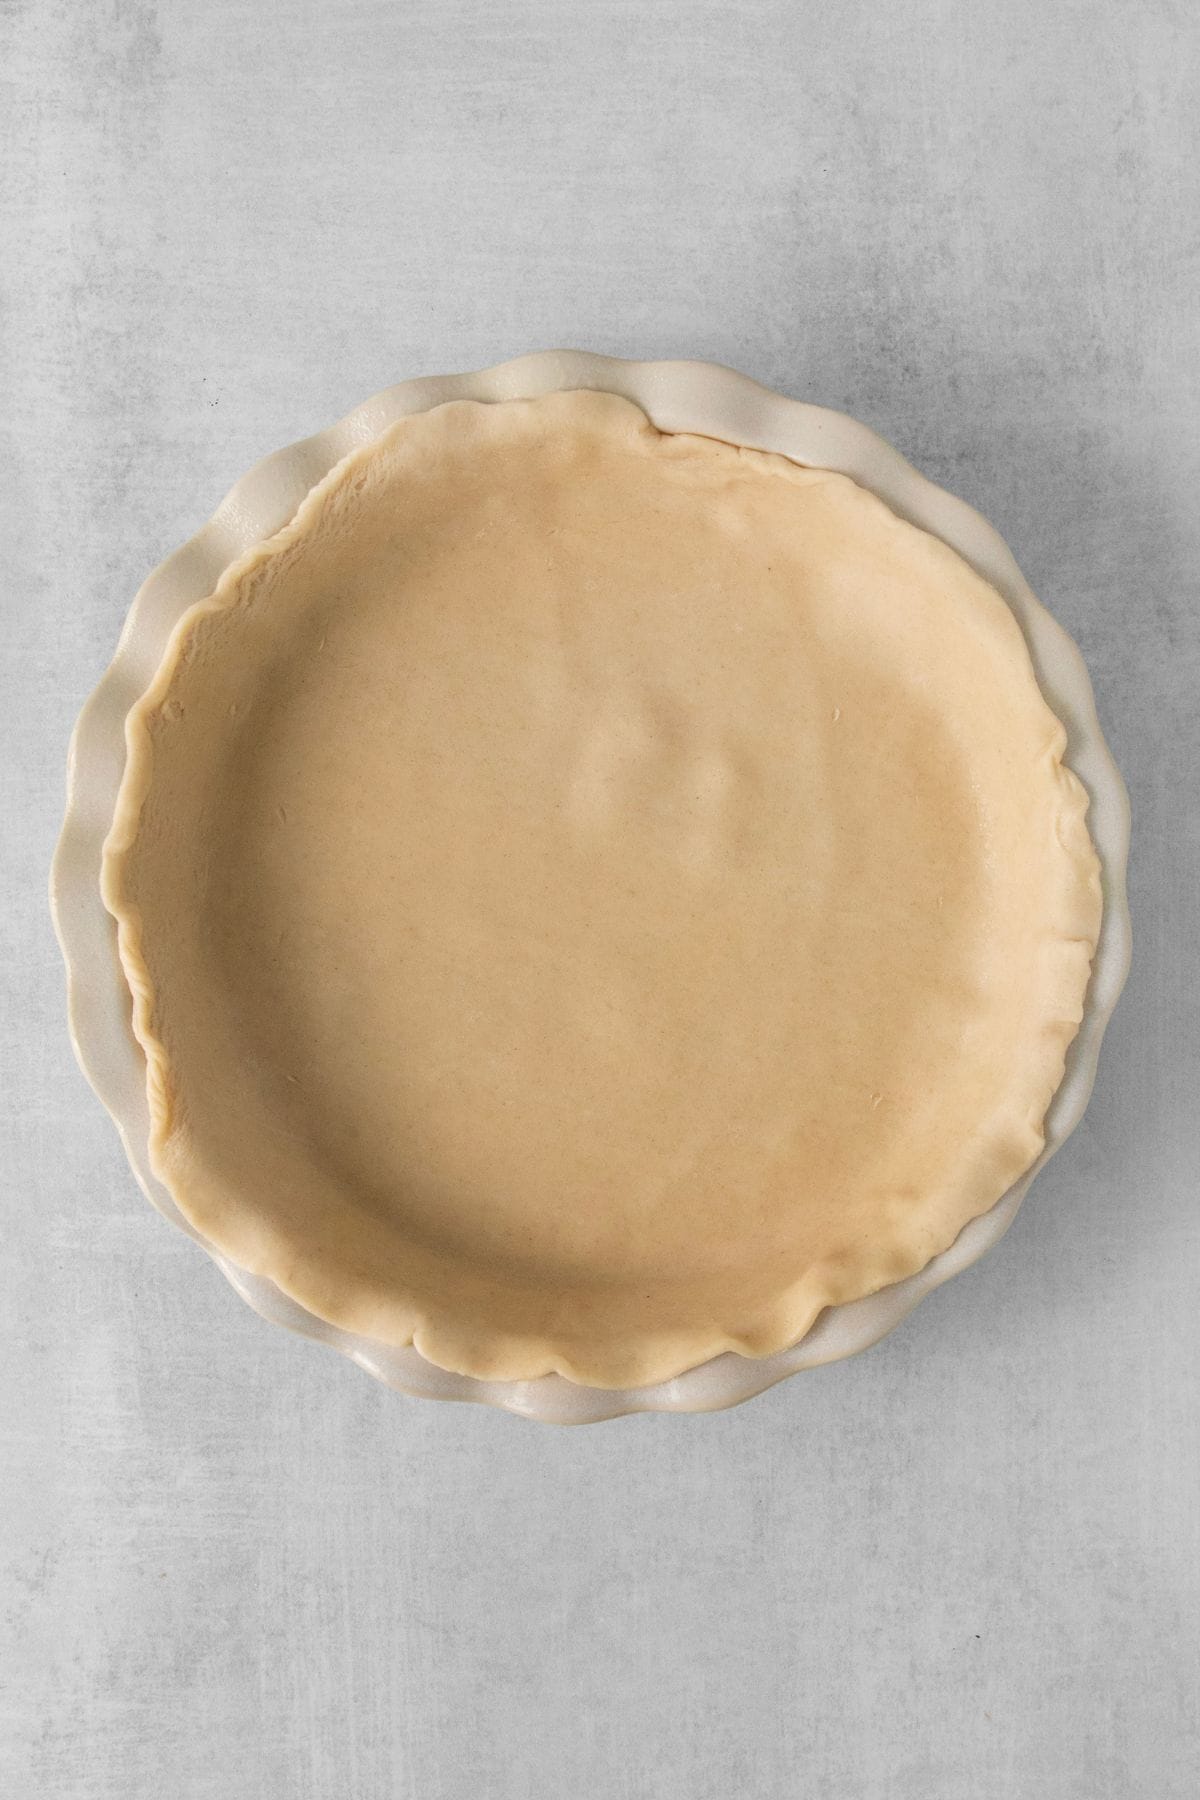
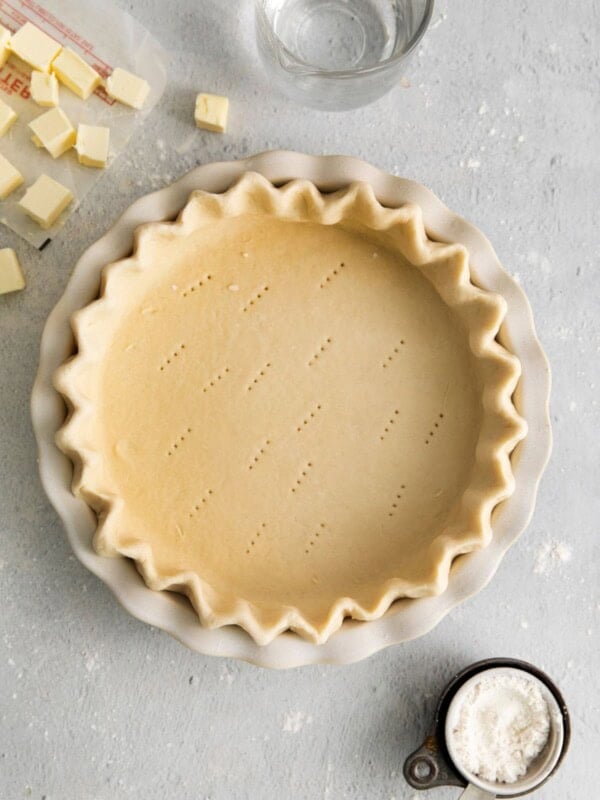
- Preheat the oven to 350°F and lightly grease a pie pan with nonstick baking spray. Place the pie crust in the pie pan and crimp or flute the edges. Line the pie crust with parchment paper and fill the center with rice, dried beans, or pie weights
- Bake the crust for 20 minutes. Remove the crust from the oven and remove the parchment paper and rice from it.
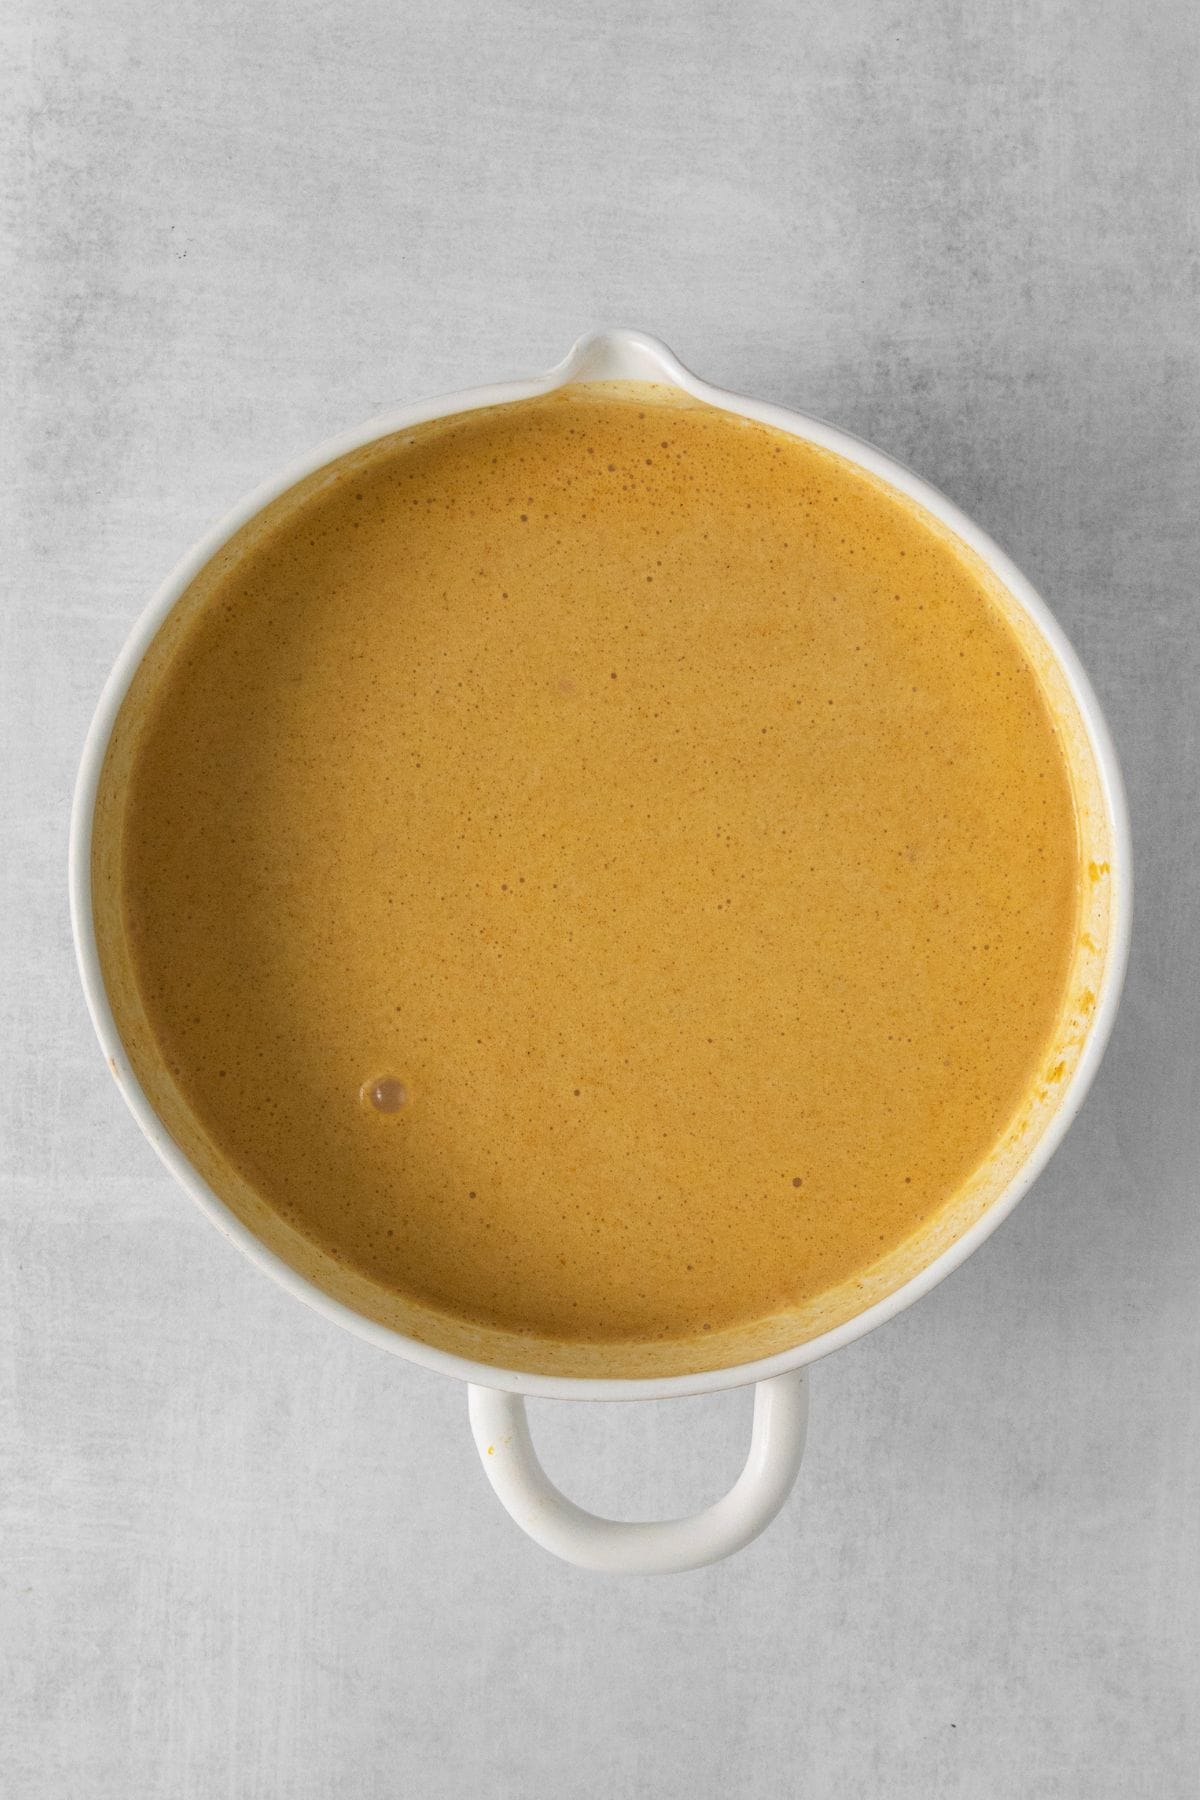
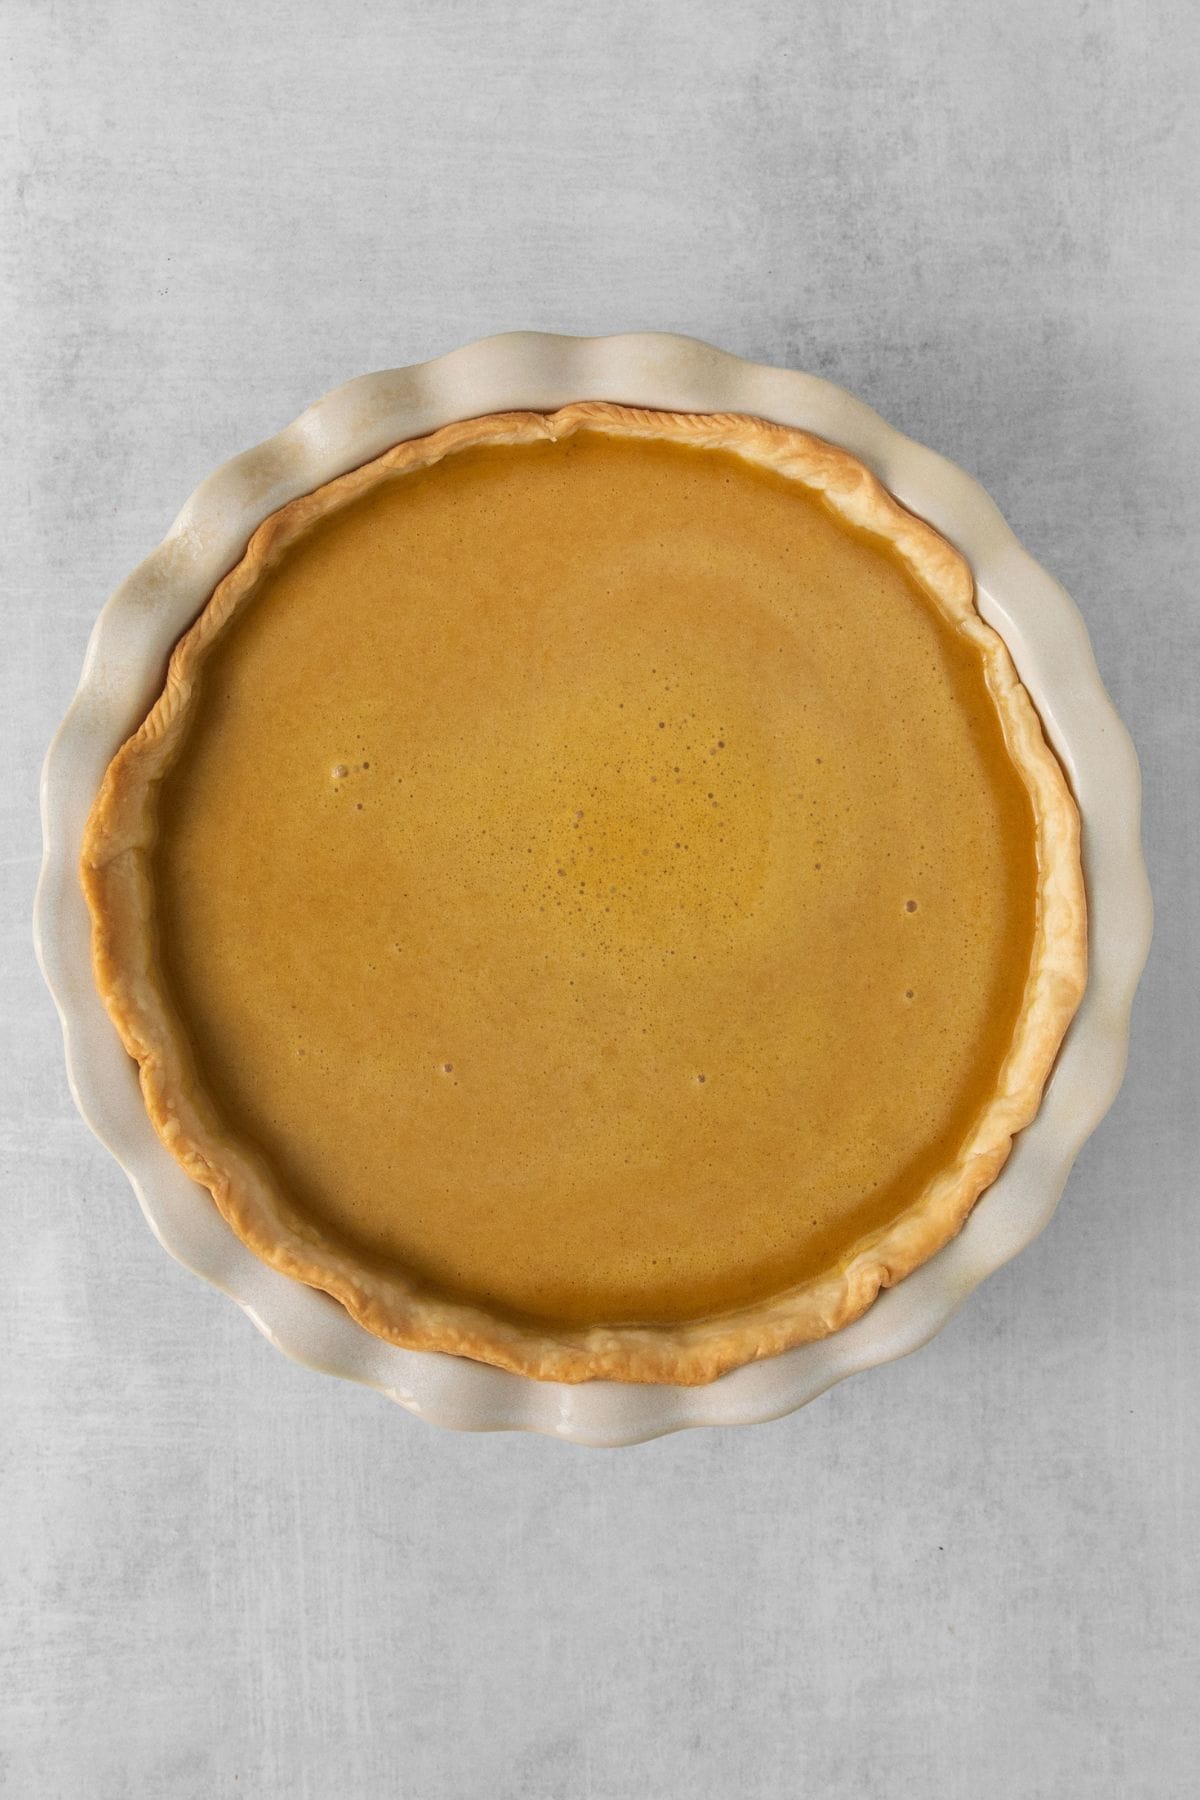
- In a large bowl, whisk together the pumpkin puree, heavy cream, brown sugar, eggs, pie spice, and vanilla until smooth. Pour the pumpkin mixture into the crust and bake it for 55-60 minutes, or until the center of the pie barely jiggles when shaken.
- Remove the pie from the oven and allow it to cool completely to room temperature. Then transfer it to the fridge and chill for at least 4 hours.
- Serve garnished with a dollop of fresh whipped cream and enjoy.
Notes
Nutrition
This nutrition information is based on the exact products I used in this recipe. Brands and sizes of products could alter exact nutrition and should always be calculated independently.
Like this? Leave a comment below!









Hi. Do you bake the pie crust with the dry breans/rice for weight?
Hi Kimberly, Yes, I use pie weights to bake my crust. Both dry beans and uncooked rice work great for this!